Import your codebase
This page covers the steps to import a code repository into Artemis.
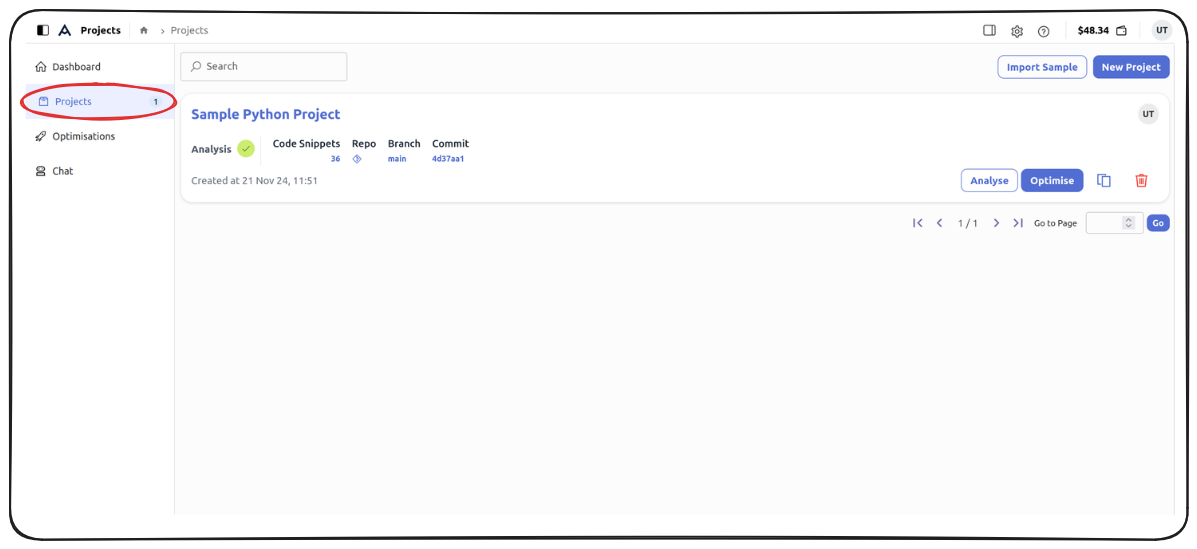
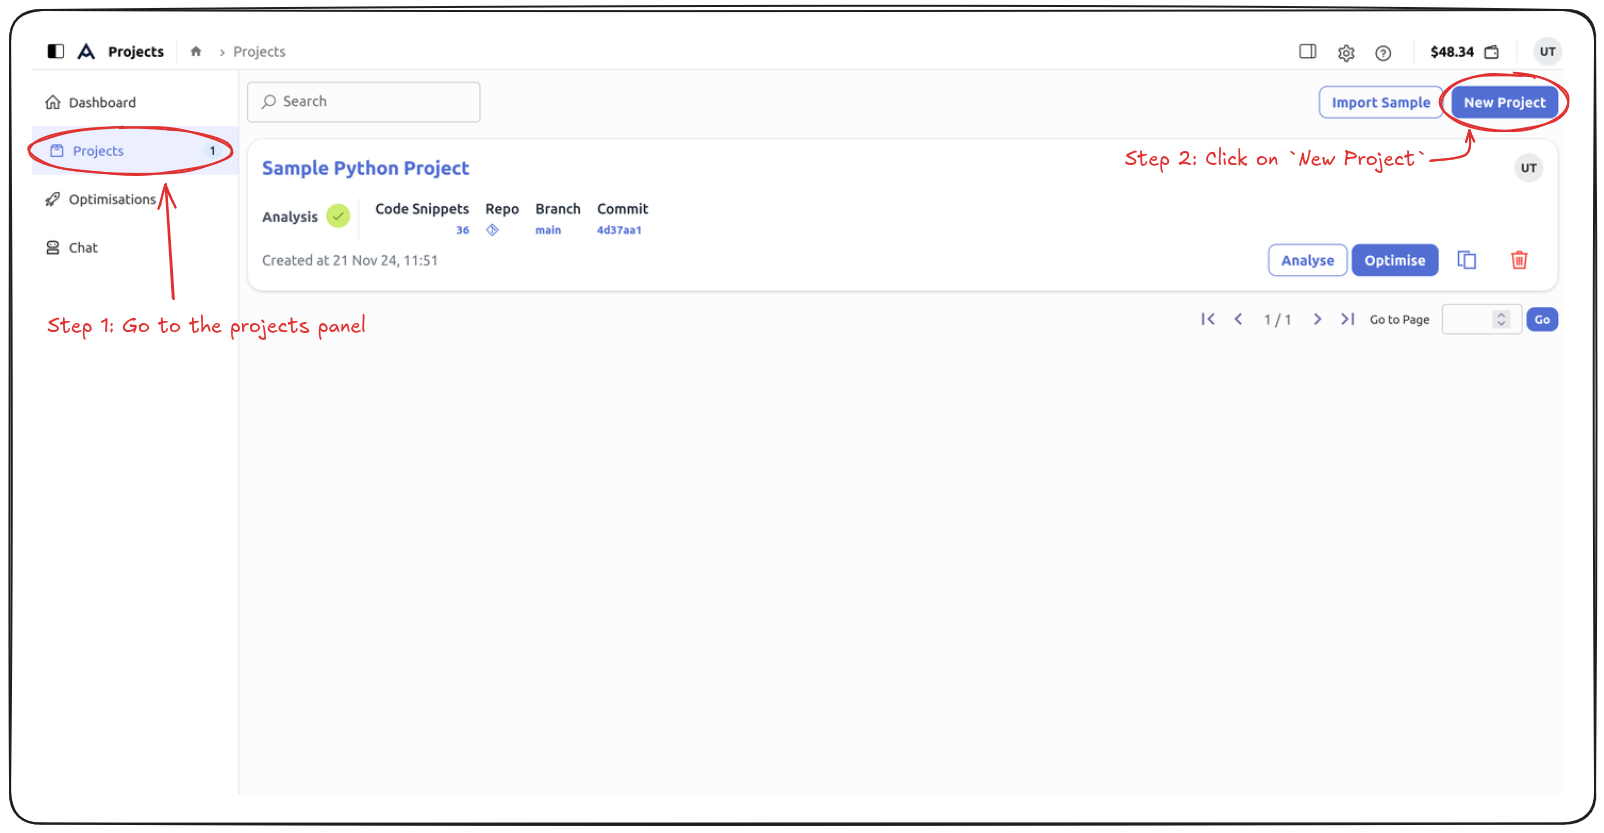
To start importing a project, go to the Artemis Projects tab on the left panel, and click the New Project button on the top right. See image below:
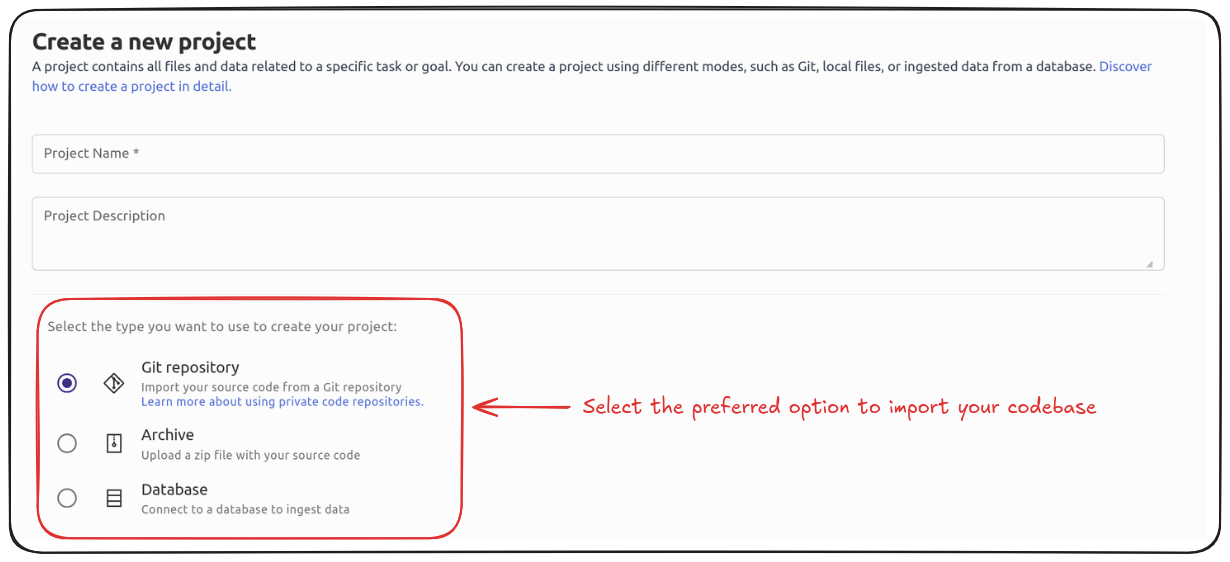
The three options available for code import are:
- Git repository: Where you can import a code project using Git
- Archive: Where you can import a code project from your local device
- Database: Where you can ingest code from a database
Select the preferred option from the form below:
For each of the options, you will be required to follow the specific steps given below:
Import a Git repository
If you are using a private Git repository, you need to configure a Git key to authenticate Artemis to import the repository. Read Artemis documentation here to set a Git key: Using private code repositories. If you are using a public Git repository, you can continue to import the project without authentication.
Provide a name and a description (optional) for the code project you are about to create on Artemis.
From the dropdown list in Select the Git key to use for Git authentication, select a pre-configured Git key.
Provide the URL for your Git repository, and optionally, provide a preferred branch name and commit hash.
Once you have specified the necessary details, click Create Project at the bottom of the page.
Import a local folder
Provide a name and a description (optional) for the code project you are about to create on Artemis.
Click on the Upload your code archive* section to browse and select the code project.
Once you have specified the necessary details, click Create Project at the bottom of the page.
Connect to a database to ingest data
Provide a name and a description (optional) for the code project you are about to create on Artemis.
Select the database you want to connect for your project.
You will be asked to provide: (1) Database host, (2) Database port, (3) Database name, (4) Database username, and (5) Database password.
If you are connecting to a PostgreSQL database, you can optionally provide an SQL schema.
View your project
Go to the Projects tab on the left to view your imported code project.