Agentic Chat
Use this guide to explore your codebase using Artemis Agentic Chat, powered by RAG (Retrieval-Augmented Generation) and the on-device Qwen 3 4B model. Ask questions about your project and receive answers with references to the specific files used in the response.
Prerequisites
- Artemis is installed on a high-performance Intel® laptop with local GPUs (see Deployment Options).
- All large language models run locally (this example uses the Qwen 3 4B model).
- Internet access is optional; all processing runs directly on your local hardware.
Outline
This guide covers the following steps:
- Step 1: Import a Local Project: Set up your project in Artemis
- Step 2: Index the Project: Enable codebase indexing for RAG-powered search
- Step 3: Open Agentic Chat: Access the chat interface to explore your codebase
- Step 4: Explore Your Codebase: Ask questions, search for similar code patterns, and receive answers with file references
Workflow
Step 1: Import a Local Project
Select one of the following options to import your code into Artemis:
-
Import a sample project:
- Go to
Projectsand clickImport Projectto use a pre-existing sample (see Figure 1). - Choose a sample project (for example, Sample Python Project) and click
Import(see Figure 2). If the import isn't working, disableUse Git Credentialsor set up git credentials. - The project appears in your Projects list. Open it to proceed (see Figure 3).
- Go to
-
Upload a project zip file:
- Go to
Projectsand clickNew Project. - Click
Upload a zip file with your codeand select your zip file. - Once uploaded, open the project (see Figure 3).
- Go to
-
Import an existing project from GitHub:
- Go to
Projectsand clickNew Project. - Select an existing project from your GitHub repository. For details on setting up git credentials, see the project setup guide.
- Once imported, open the project (see Figure 3).
- Go to
-
Create a new project with planning:
- Go to
Projectsand clickPlan New Repoto start a new project using the Planning Agent (BETA). For more details, see the planning guide. - Once the project is created, open it (see Figure 3).
- Go to
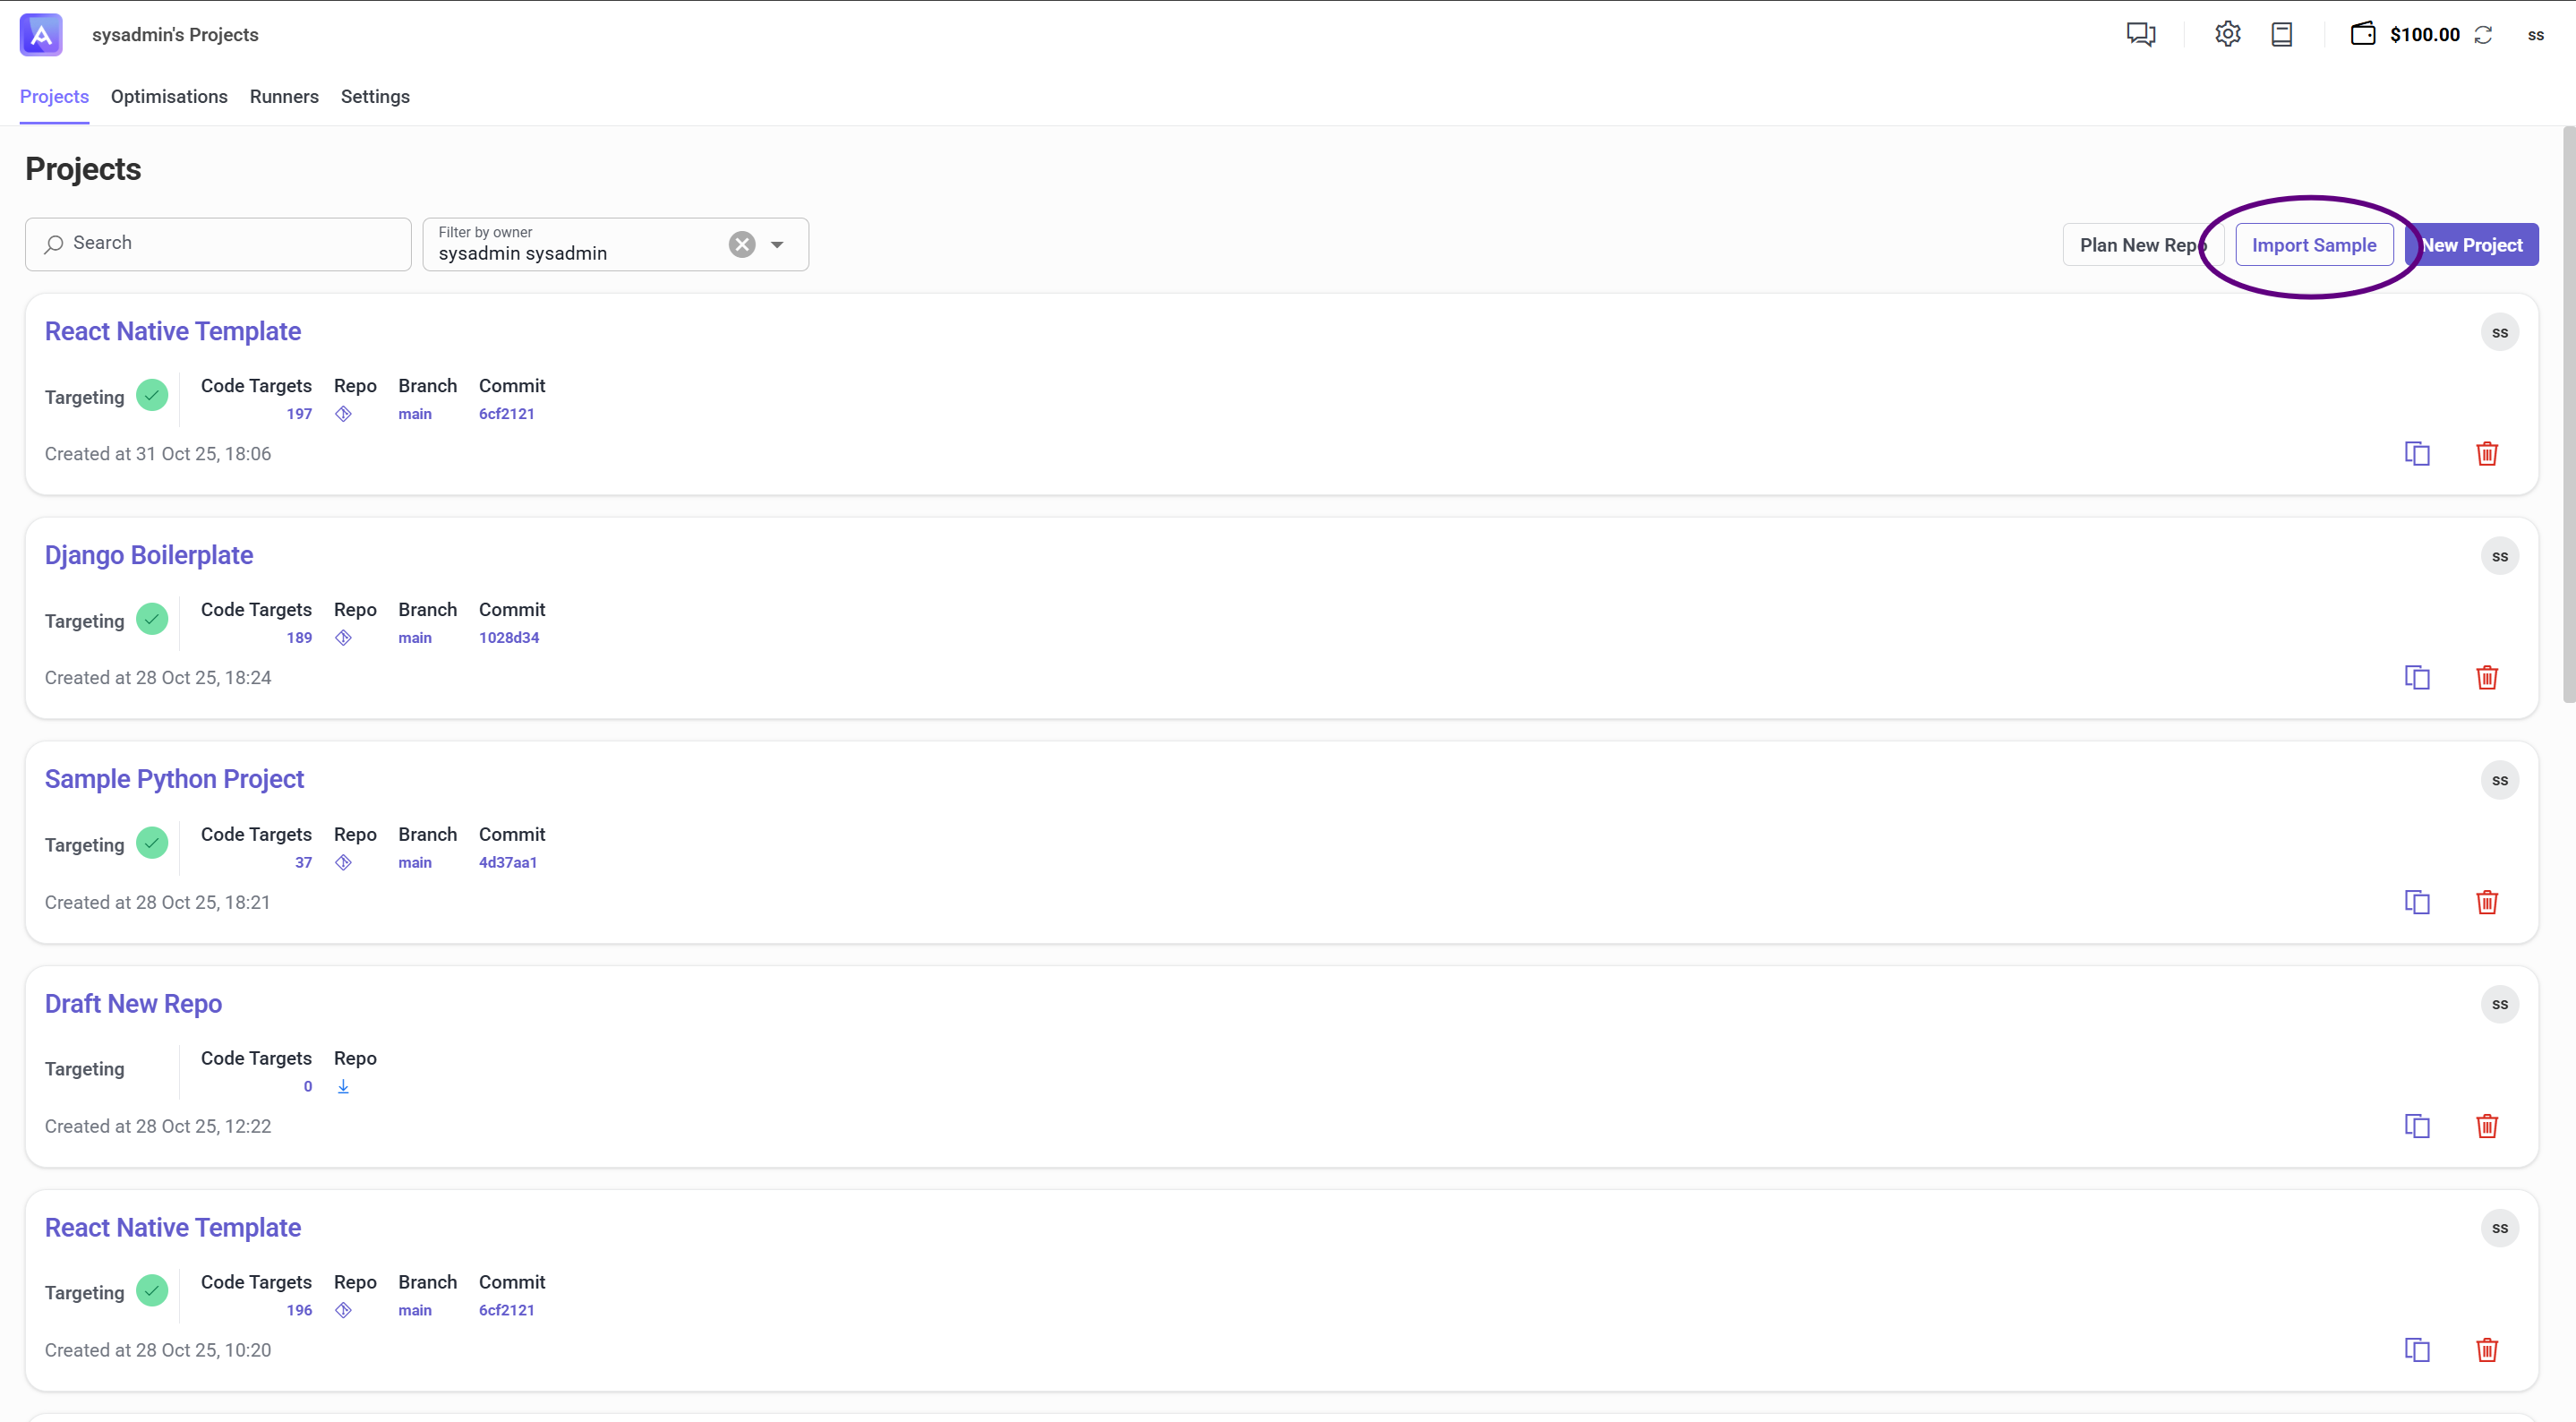
Figure 1: Select a sample project to import
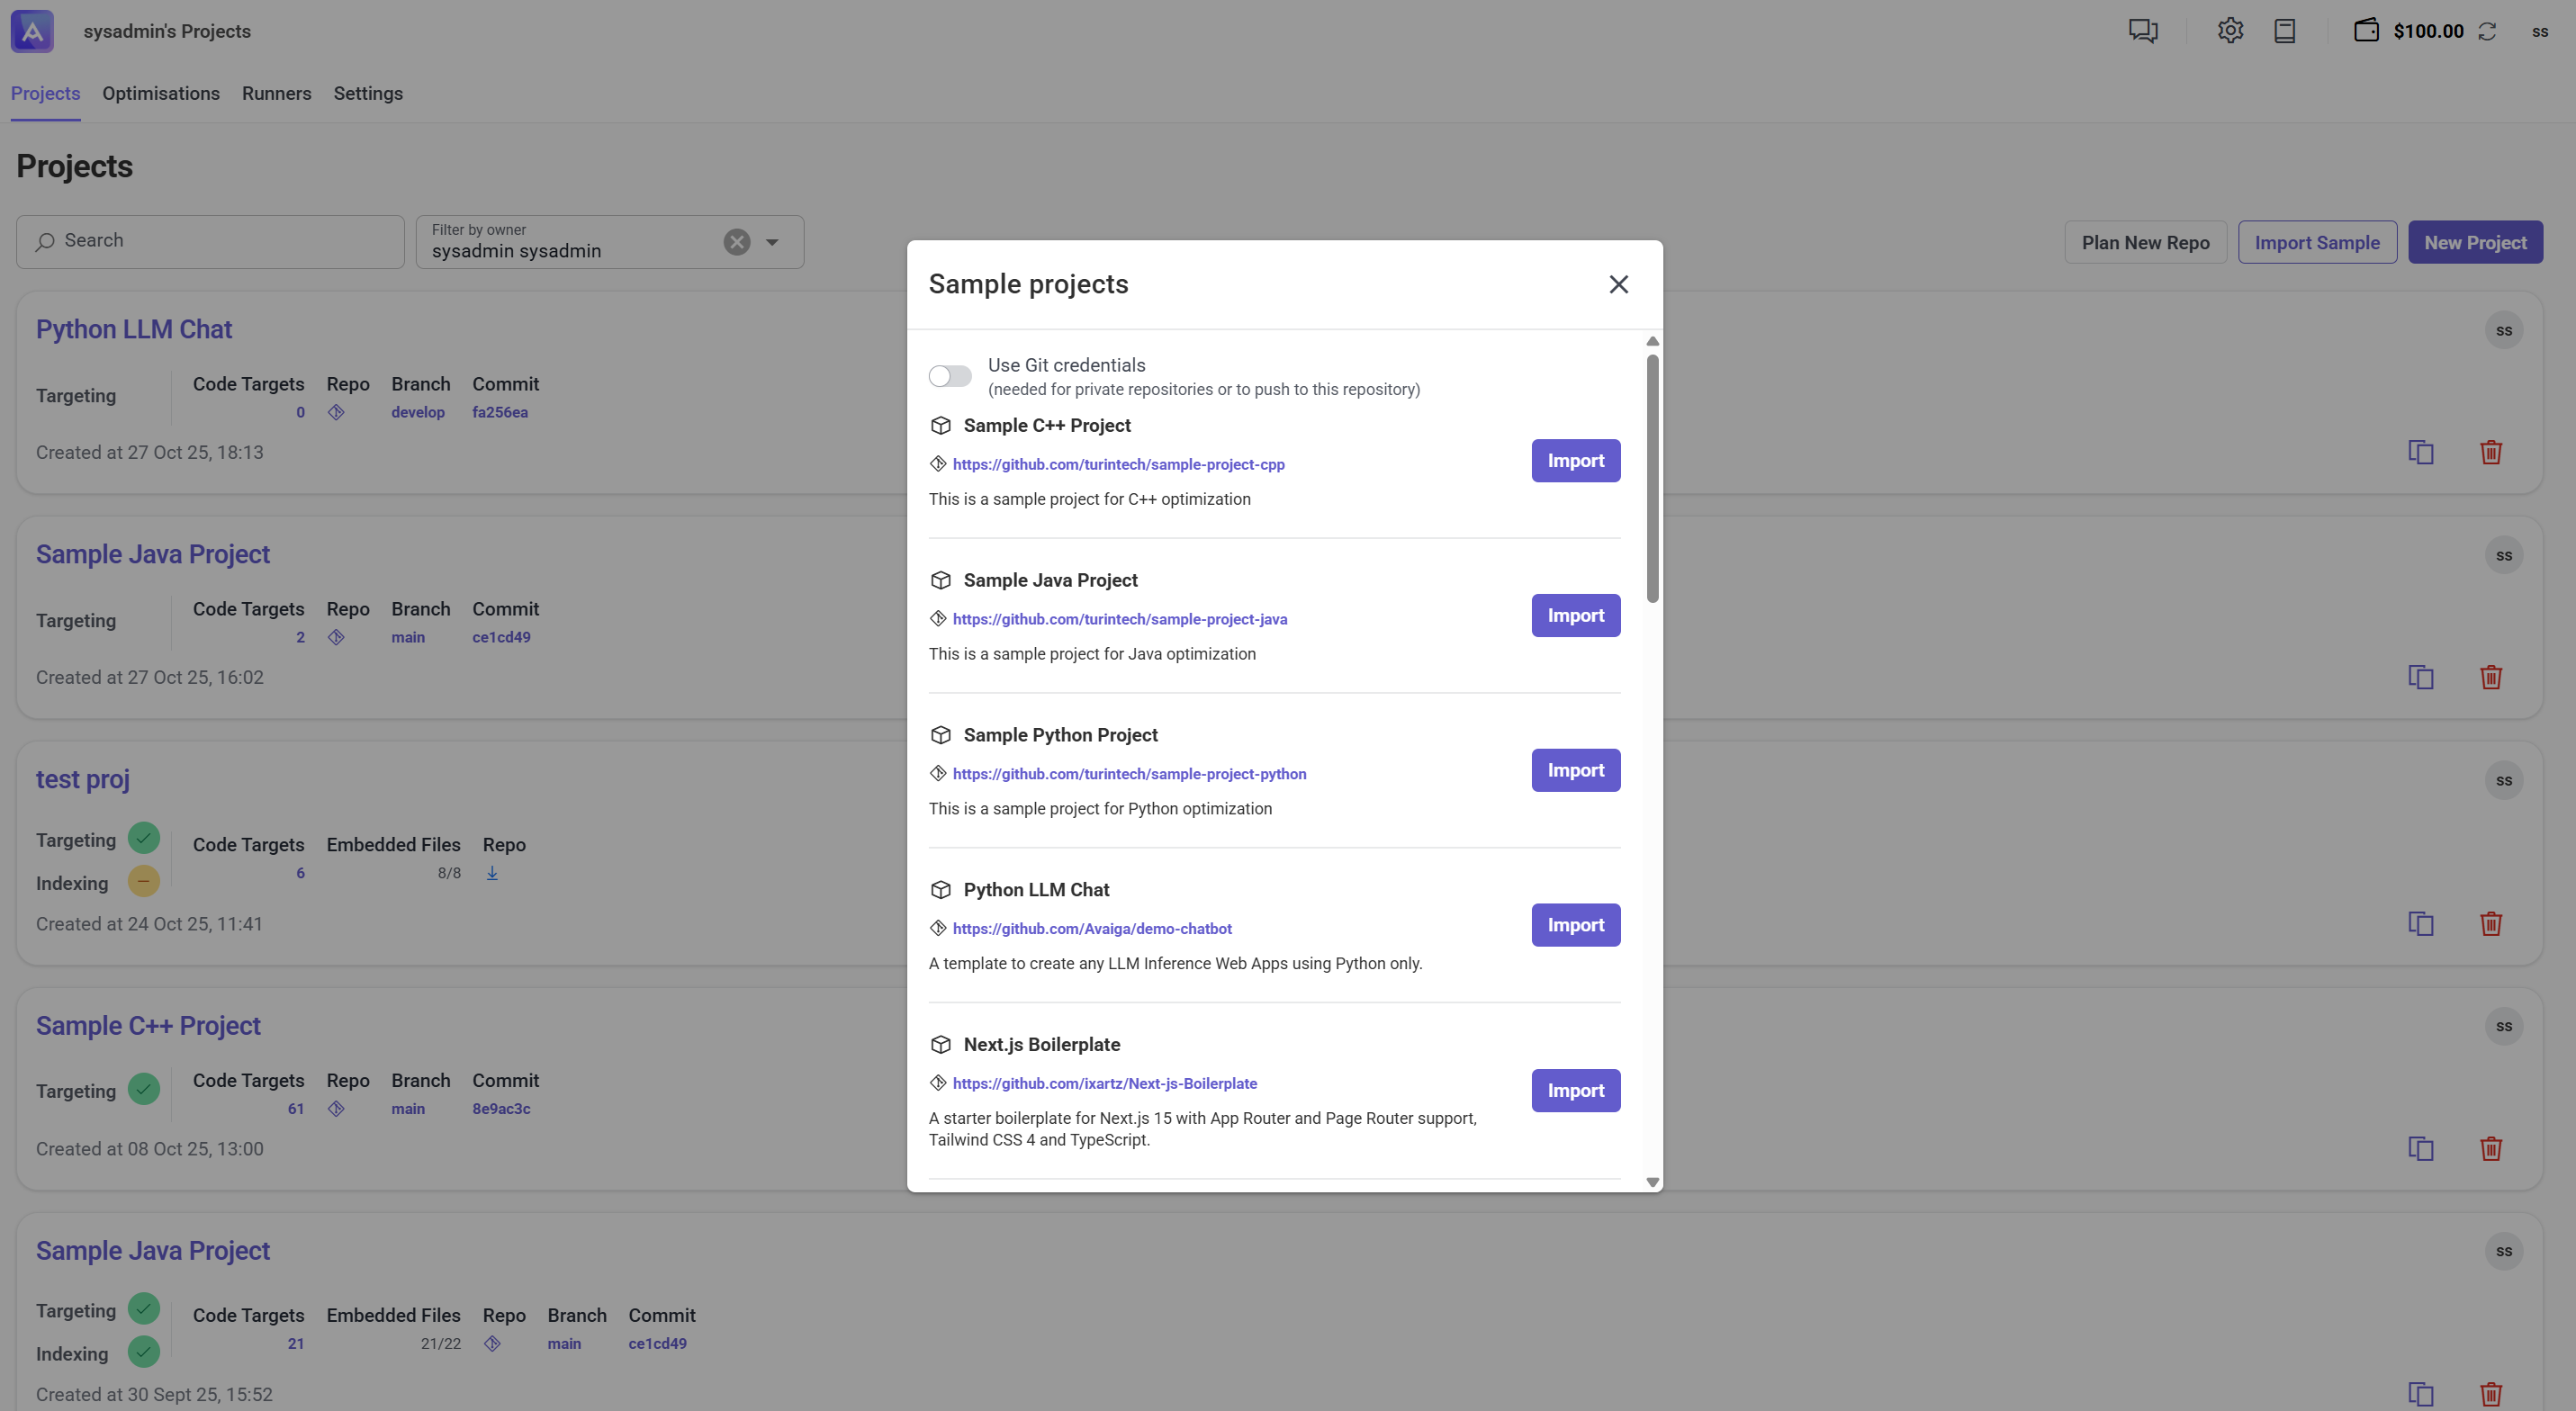
Figure 2: Sample project ready to import
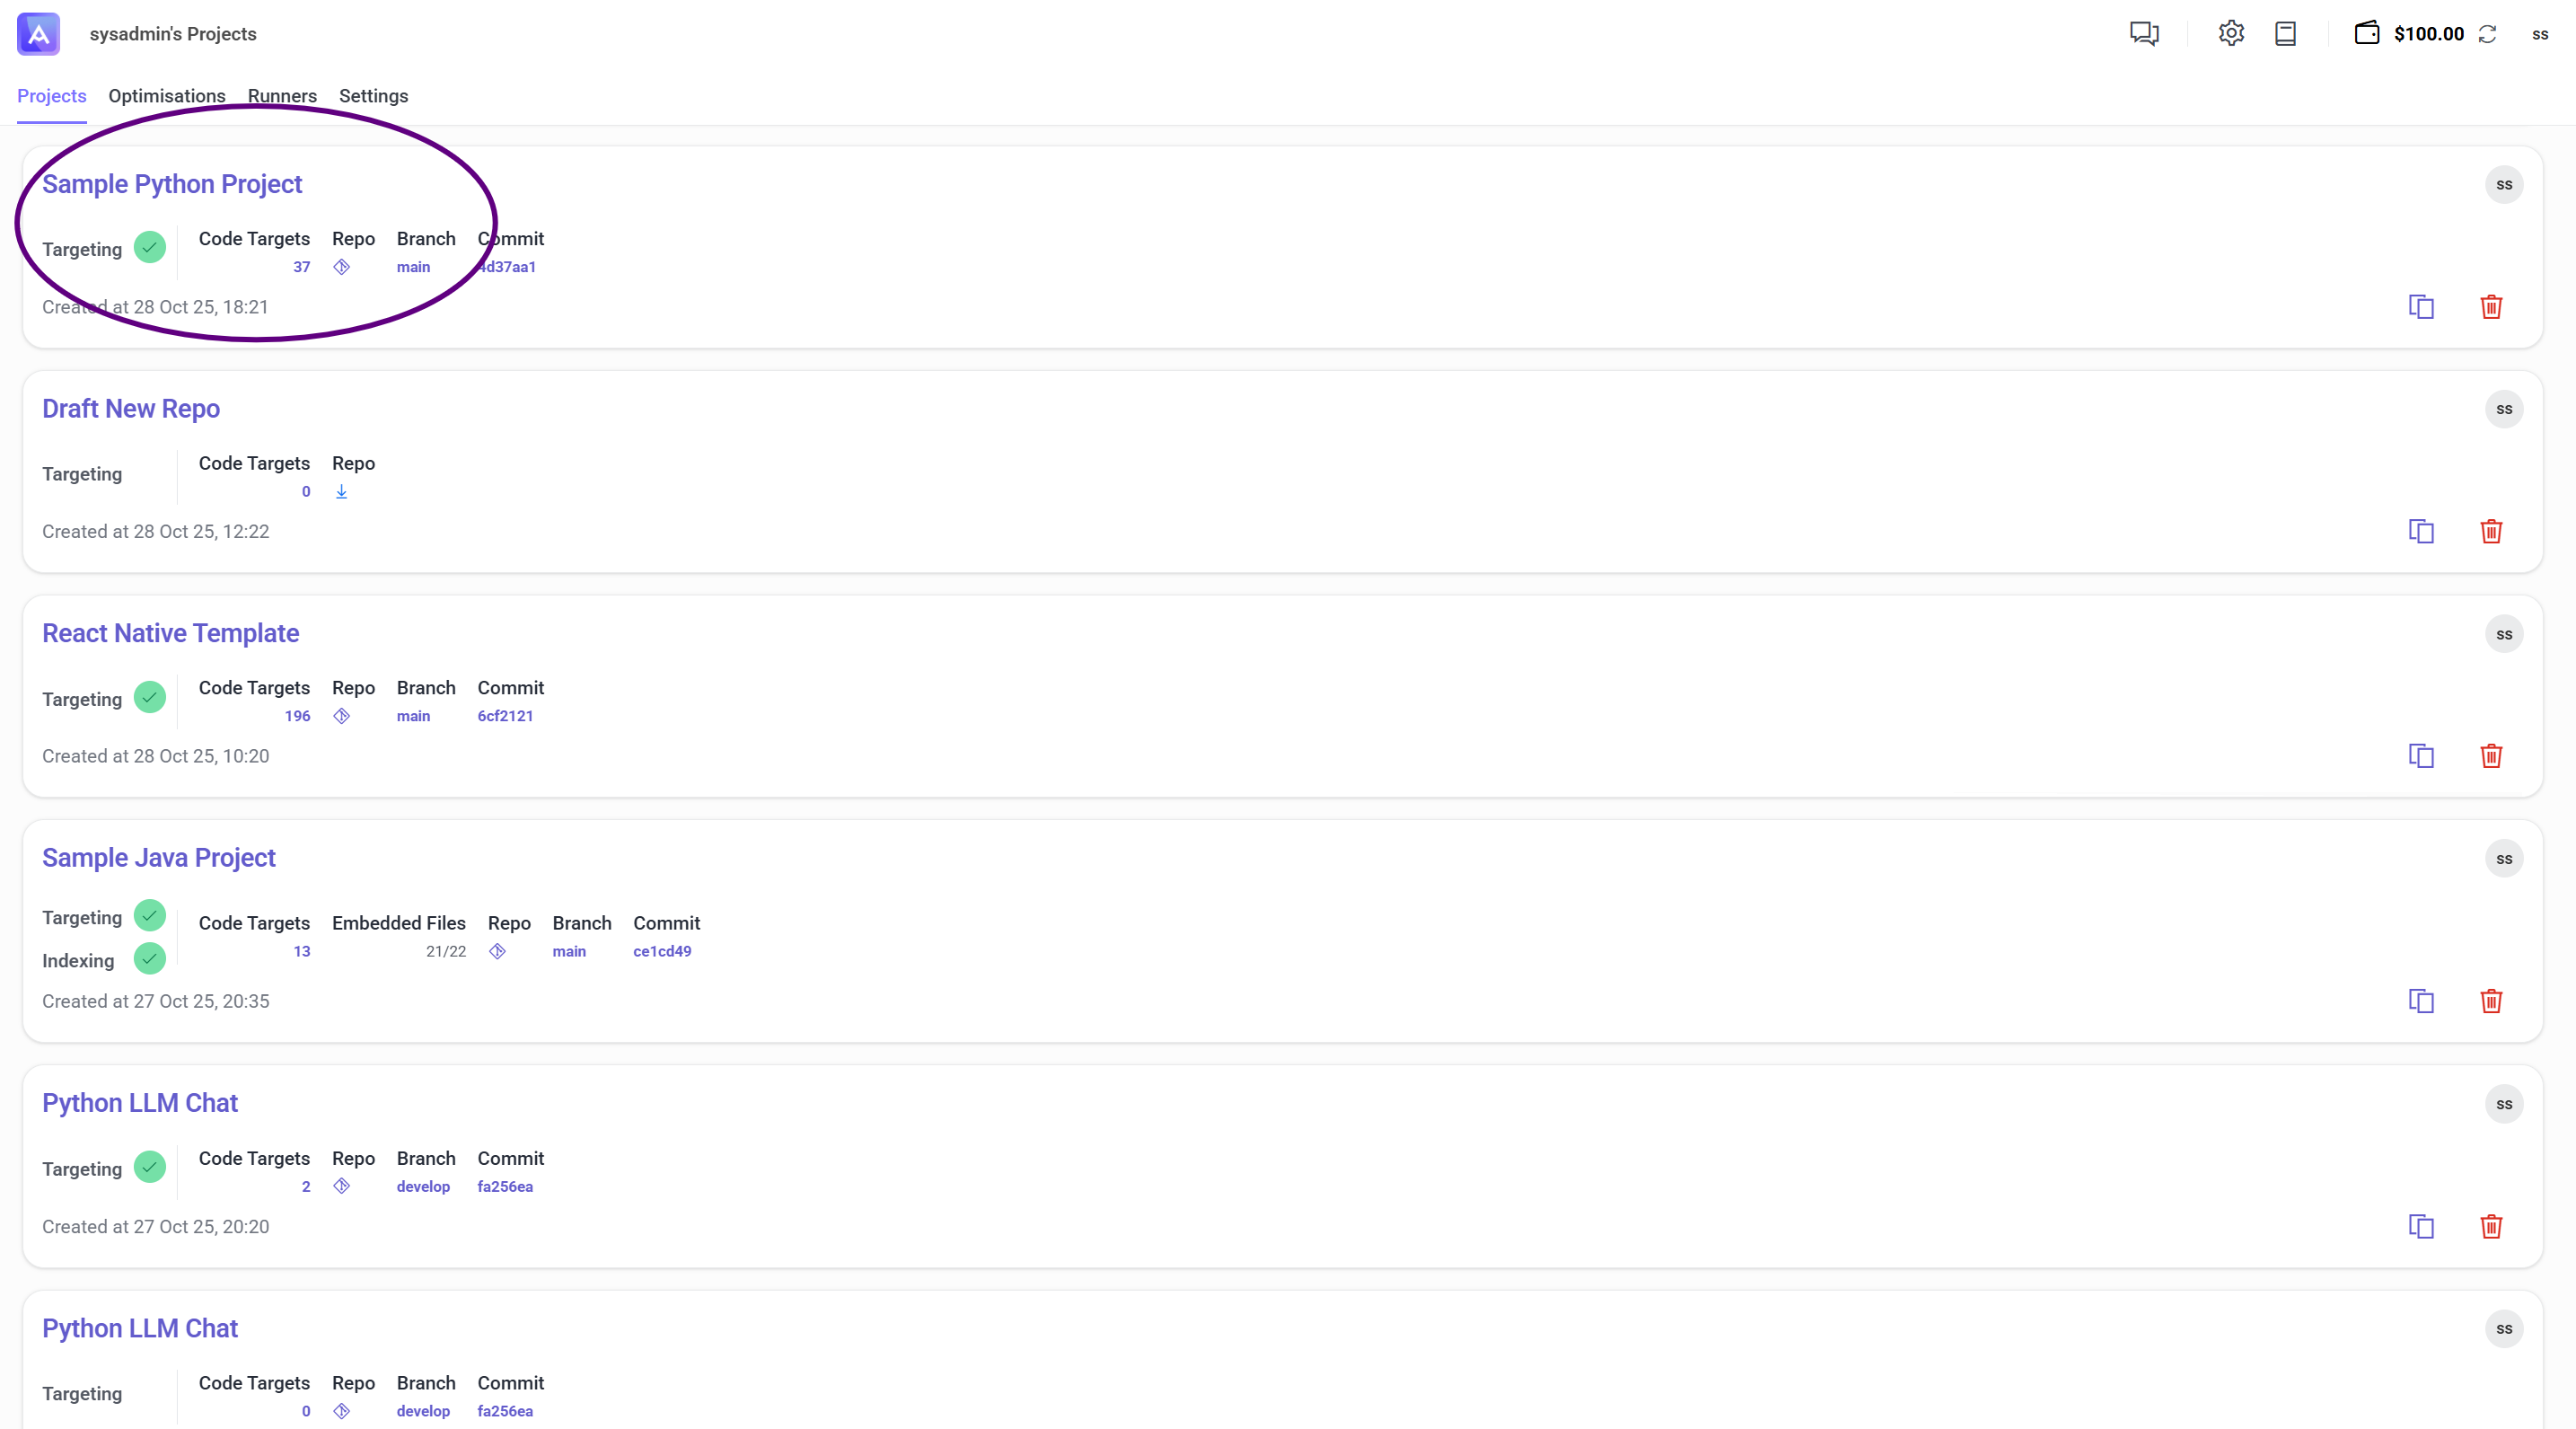
Figure 3: Imported project ready for scanning
Step 2: Index the Project
-
Navigate to
Optimise > Tasksand clickIndexto start indexing your project (see Figure 2). -
Select the files or directories you want to index (see Figure 3). You can choose specific files or index the entire repository.
-
The indexing process begins and analyzes your codebase (see Figure 4). During indexing, Artemis:
- Analyzes your codebase structure
- Extracts code patterns, functions, classes, and documentation
- Creates embeddings for code and documents using semantic analysis
- Creates a searchable semantic index that enables RAG-powered chat responses
-
Wait for the indexing process to complete. Progress is displayed in the interface. Larger projects may take several minutes to index fully.
-
Once indexing is complete, the chat can:
- Search across all indexed files using RAG-based approaches
- Find similar code patterns using semantic embeddings
- Provide accurate answers with references to specific files
- Query both code and documentation with improved precision
Note: The index is stored locally on your machine and remains available for future chat sessions.

Figure 2: Click Index to start indexing
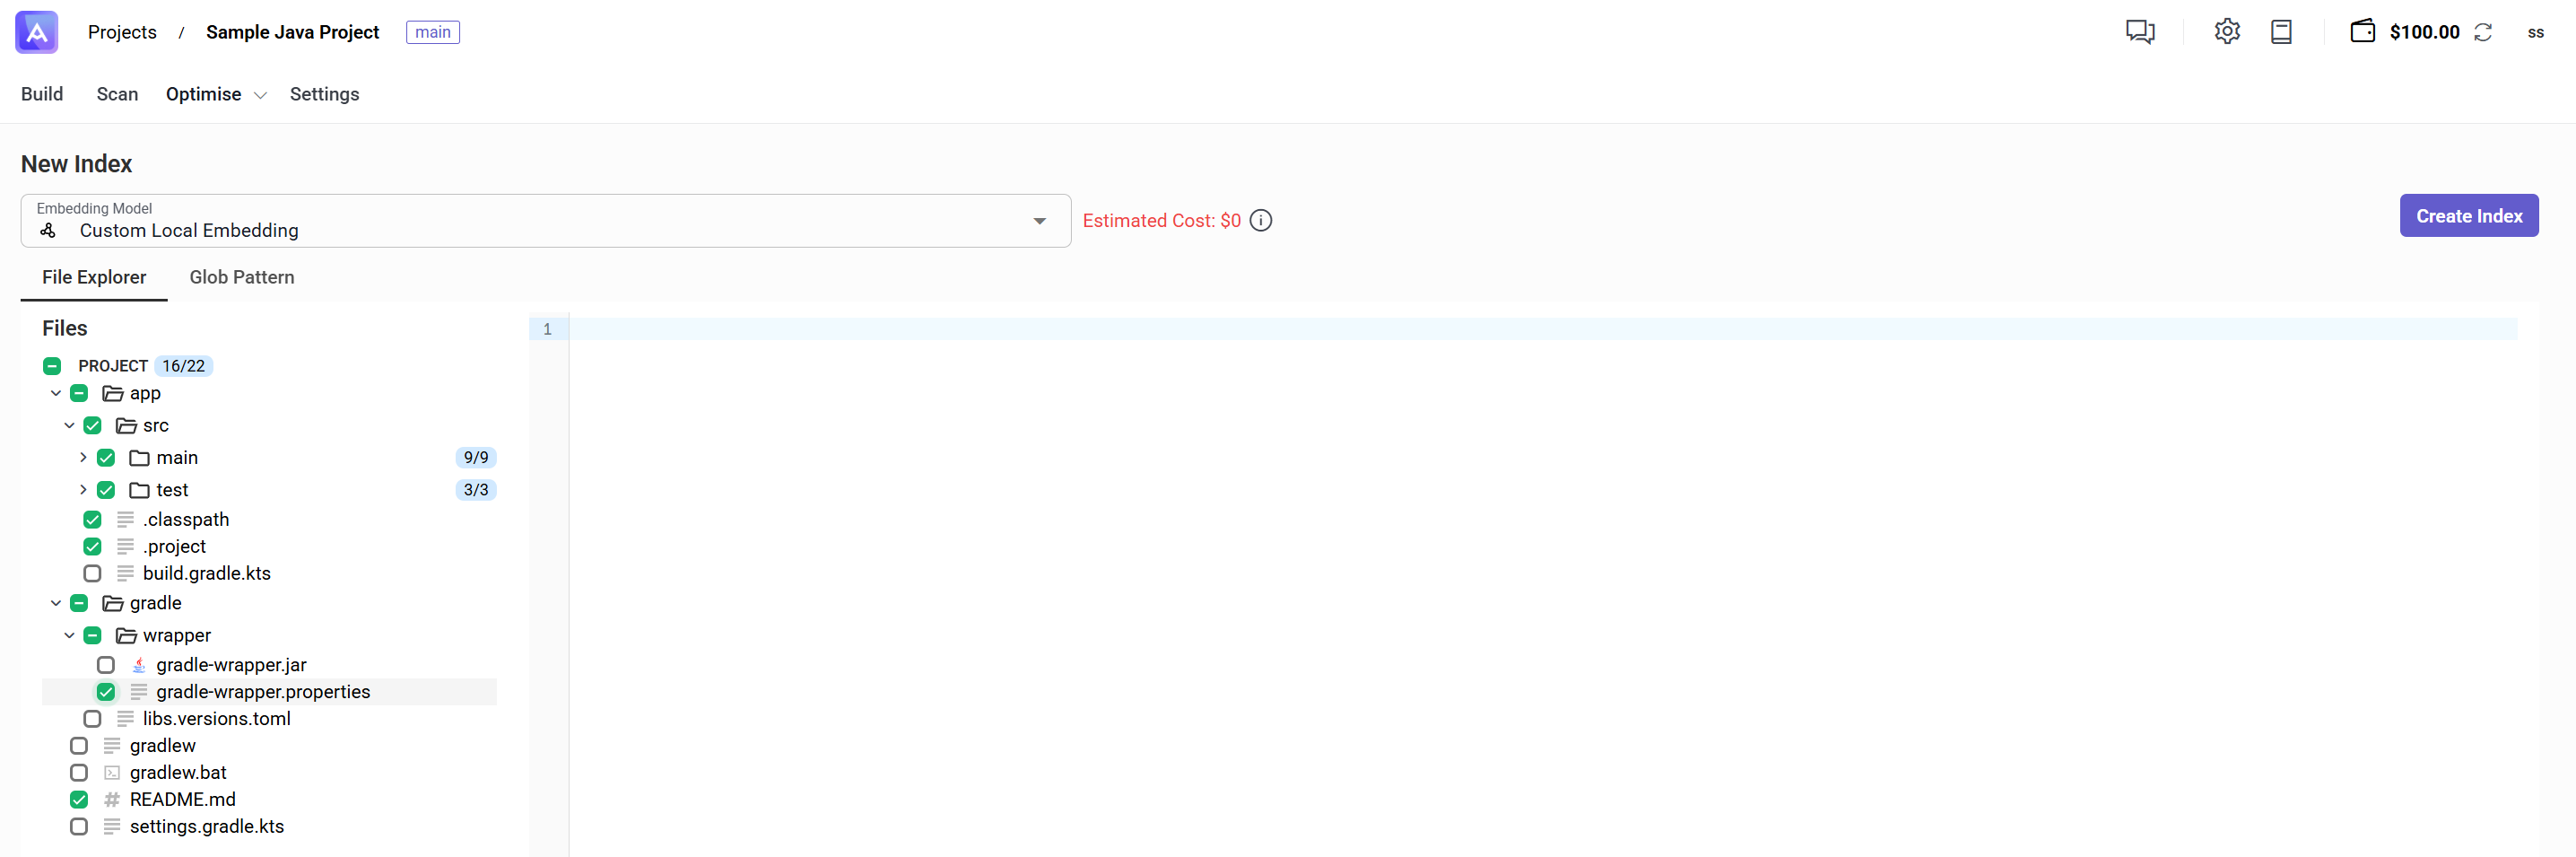
Figure 3: Select files to index
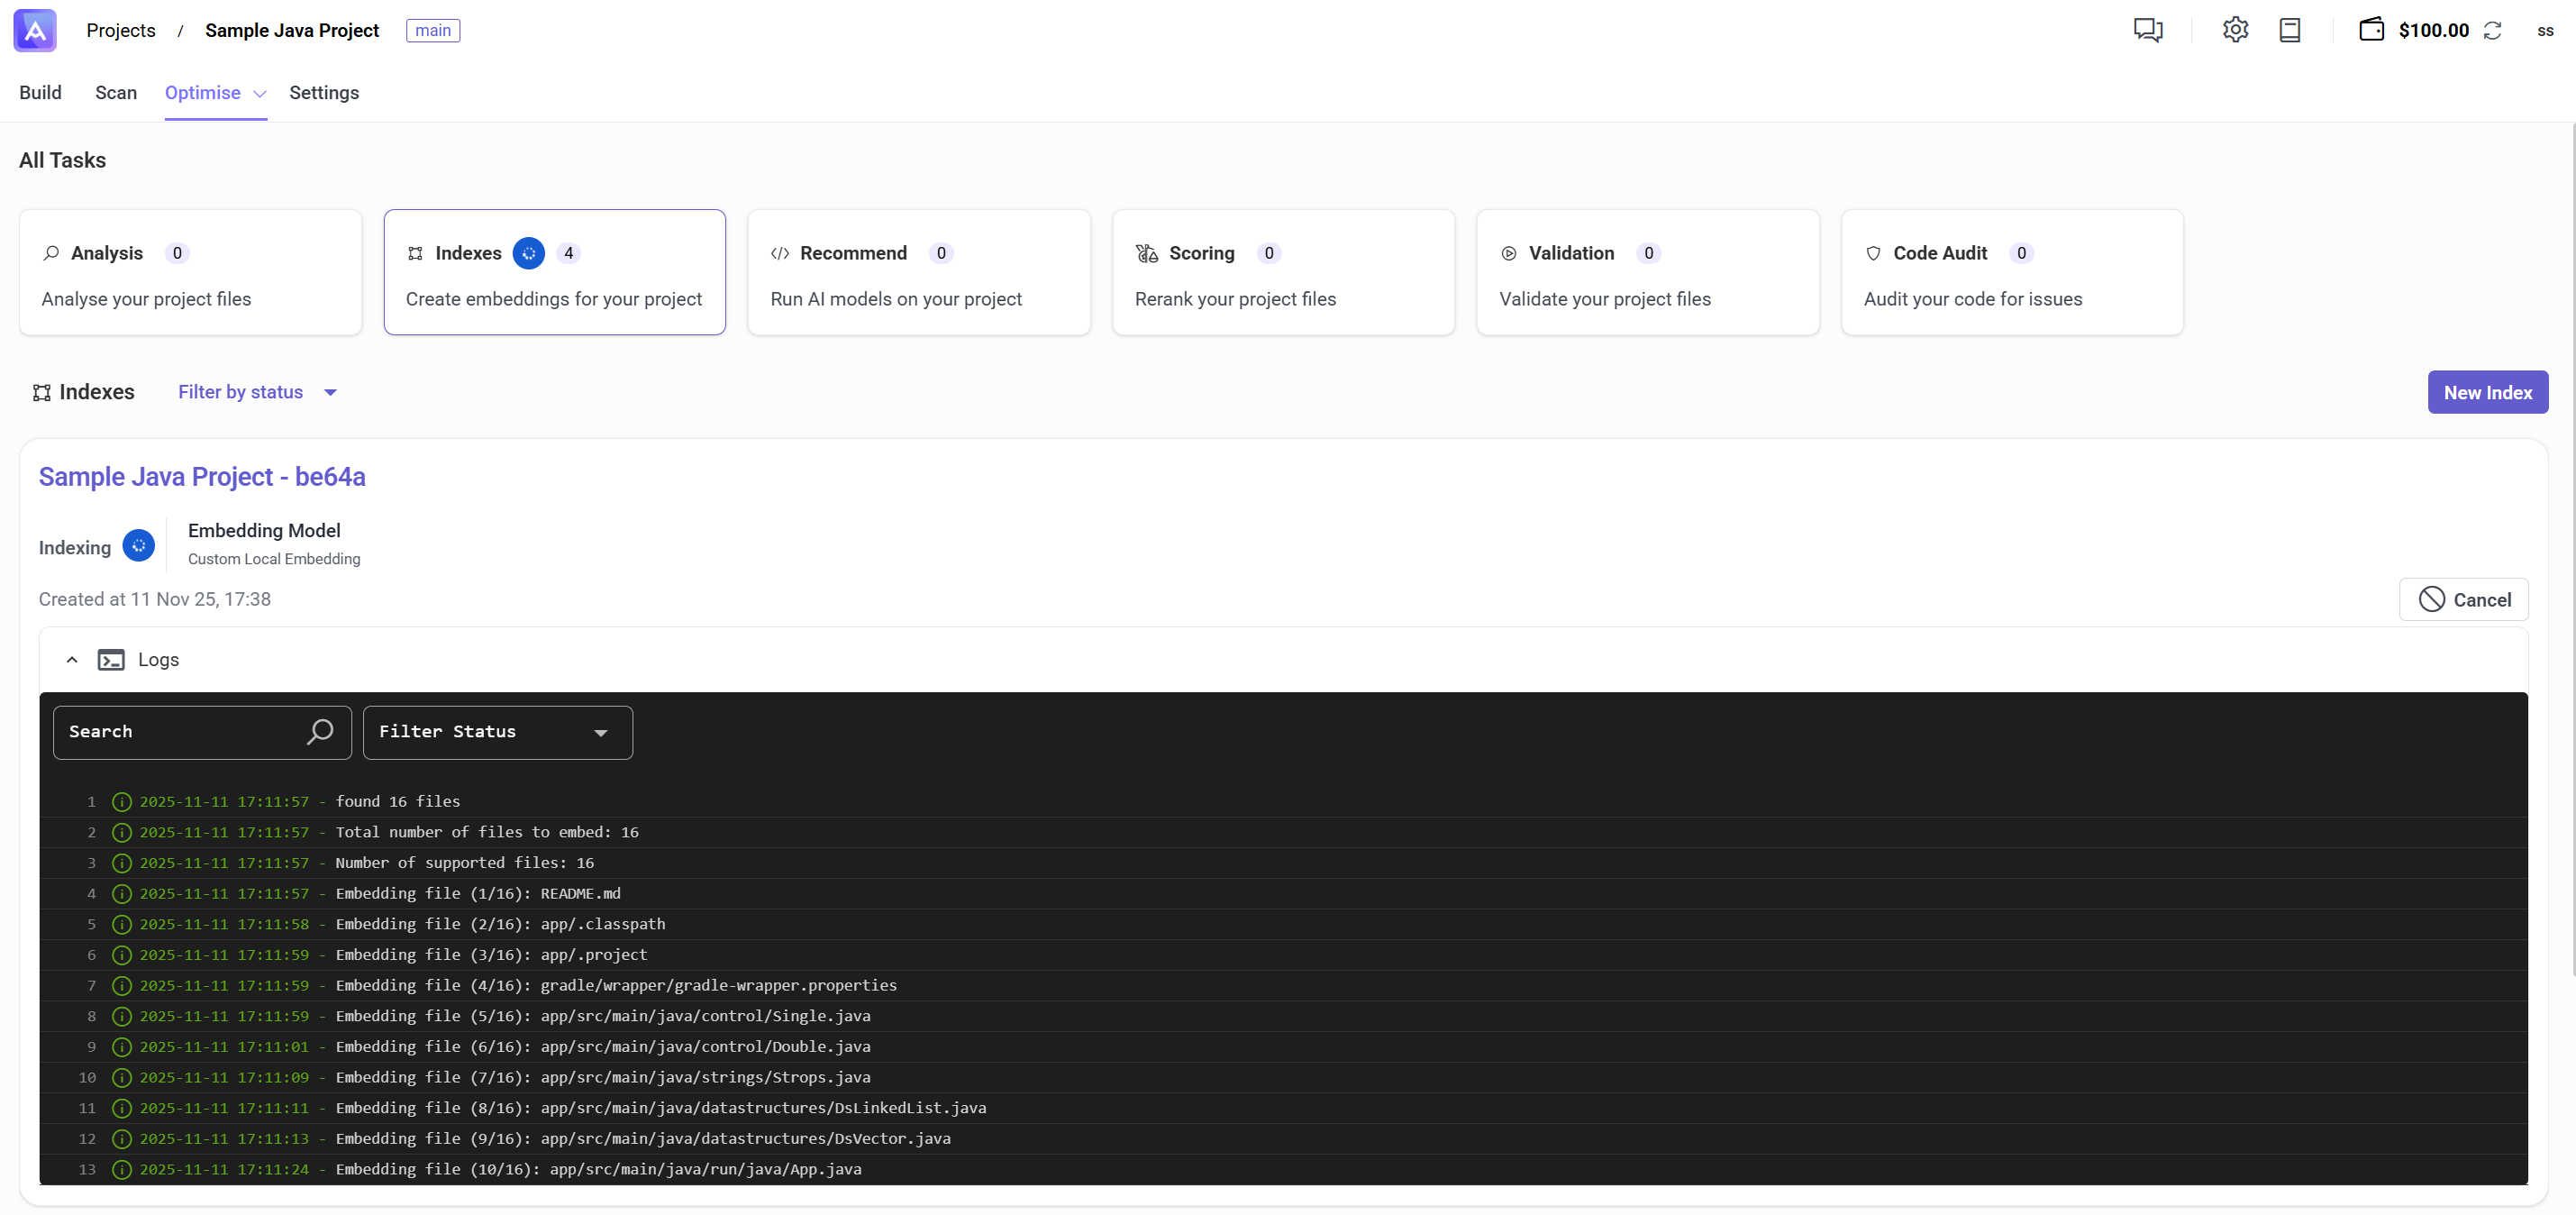
Figure 4: Repository indexing in progress
Step 3: Open Agentic Chat
- Once indexing is complete, open the chat interface (see Figure 5). You can access the chat from the
Optimise > Tasksview or from the main navigation. - Select
Artemis Searchfrom the chat options to enable RAG-powered search across your indexed codebase (see Figure 6). - Click the project context icon to select which projects to include in your chat session (see Figure 7).
- In the popup dialog that opens, select one or more projects to include in the chat context (see Figure 8). This allows you to search across multiple indexed projects simultaneously.
- The chat interface is now ready to use. The RAG system uses your local language model (for example, Qwen 3 4B) to process your questions and search the indexed codebase. All chat interactions remain on your local machine; no code or questions are sent to external servers.

Figure 5: Open agentic chat interface
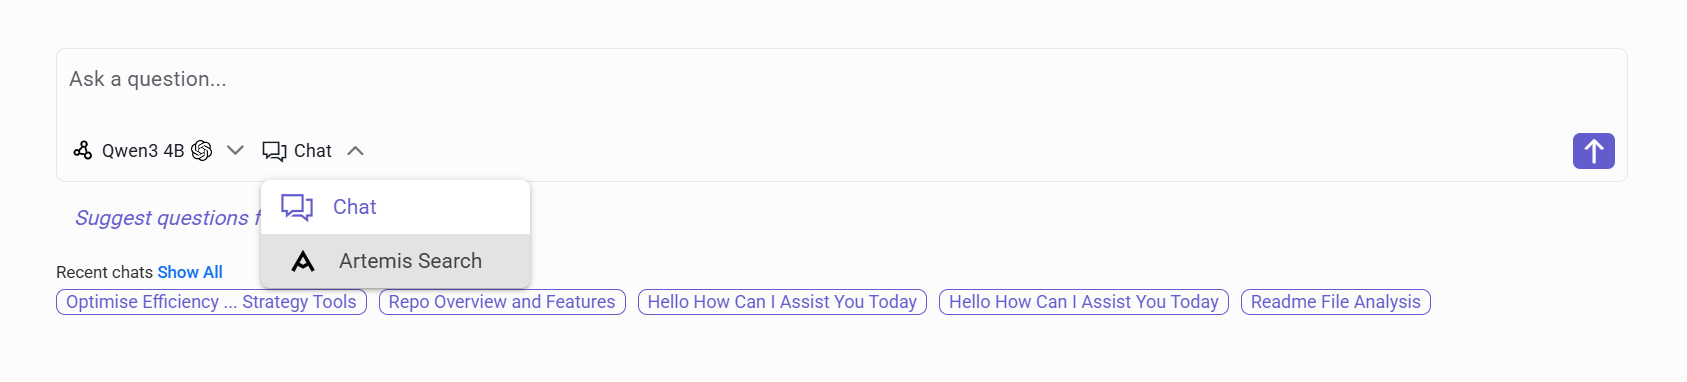
Figure 6: Select Artemis Search option

Figure 7: Project context icon for selecting projects
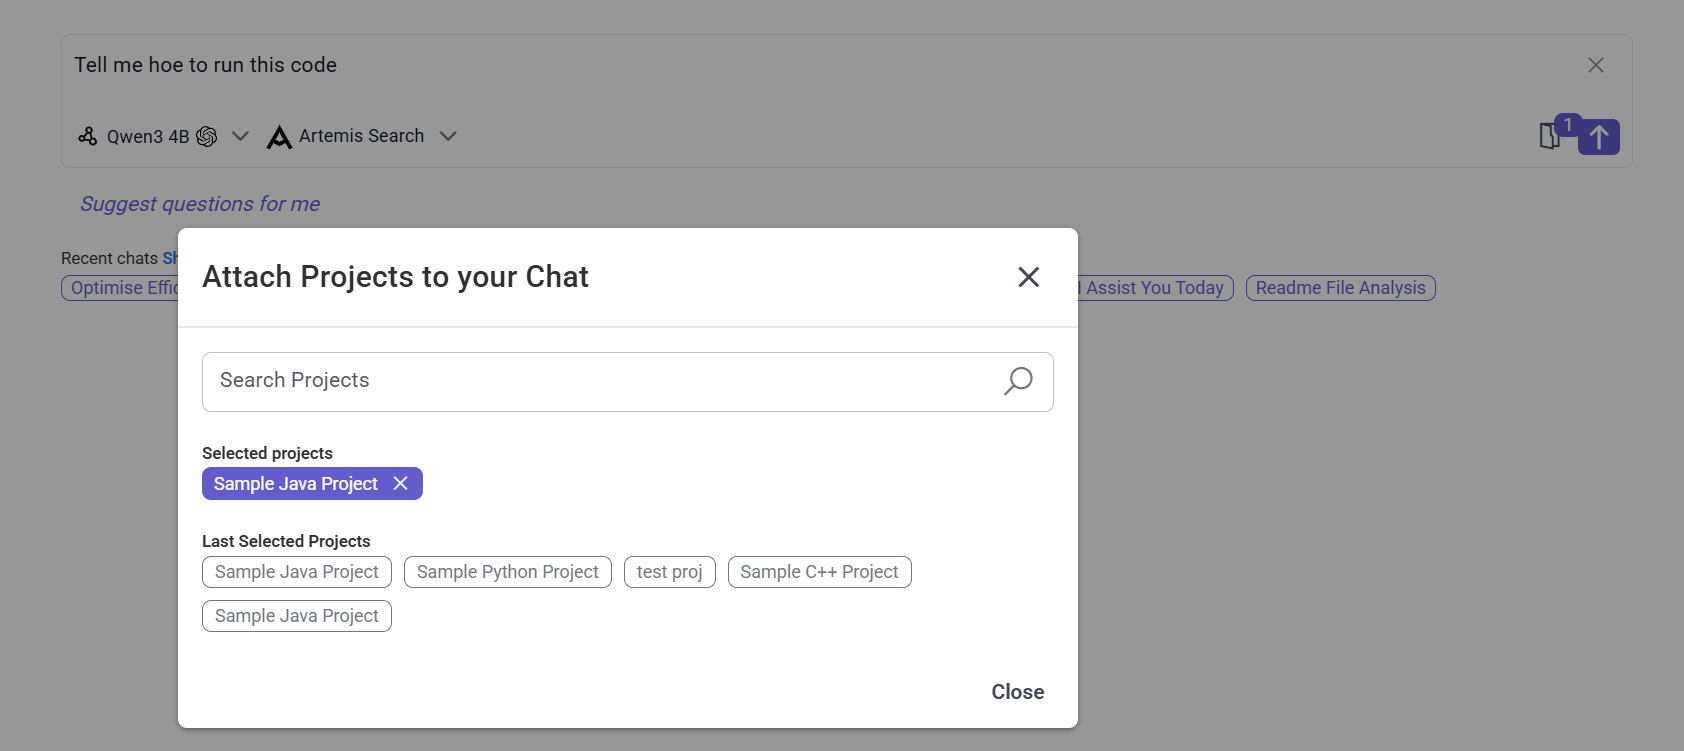
Figure 8: Select multiple projects popup
Step 4: Explore Your Codebase
-
Ask questions about your codebase. Example questions:
- "How does authentication work in this project?"
- "Where is the database connection configured?"
- "What are the main components of this application?"
- "Explain the error handling mechanism"
- "Show me all the API endpoints"
- "How is logging implemented?"
-
Review the answer and file references. Each response includes references to the specific files used. Click on any file reference to navigate directly to the relevant code section in your project (see Figure 9).
-
Ask follow-up questions to explore specific areas in more detail. The chat maintains context from previous questions within the same conversation, allowing for natural, multi-turn discussions.

Figure 9: Chat response with file references
Next Steps
- Learn more about Code Indexing and how it enhances AI capabilities.
- Use Code Audit to identify and fix code quality issues.
- Explore Standalone Optimisation to improve code performance.
- Use the Planning Agent for strategic feature development.