Agentic Planning (BETA)
Use this workflow to build strategic delivery plans with Artemis Planning Mode. All interactions run on your locally deployed instance using the Qwen 3 4B model, ensuring your project ideas remain private.
Prerequisites
- Artemis is installed on a high-performance Intel® laptop with local GPUs (see Deployment Options).
- All large language models run locally (this example uses the Qwen 3 4B model).
- Internet access is optional; all processing runs directly on your local hardware.
Outline
This guide covers the following steps:
- Step 1: Launch the Planning Agent: Access the planning agent through existing repositories, scan mode, or new projects
- Step 2: Create Plan: Enter prompts and answer questions to generate structured development plans
- Step 3: Track Progress: Inspect, validate, and publish plan items to Git
- Step 4: Project Ready: Download and verify your completed project from GitHub
- Step 5: Continue Development: Use Artemis Intelligence, planner, and code audit to extend functionality
Workflow
Step 1: Launch the Planning Agent
You can access the Planning Agent through different methods:
-
For an existing repository:
- Go to
Build > Plansto extend the functionality of an existing project using the Planning Agent. - This allows you to add new features or improvements to your existing codebase.
- Go to
-
From Scan mode:
- When reviewing scan results, select an issue and choose the planning option to fix bugs using planning mode.
- The Planning Agent creates a structured plan to address the identified issue.
-
Create a new project:
- Go to
Projectsand clickPlan New Repoto create a new project using the Planning Agent. - Choose
New Planto start planning from scratch. - Enter a description of what you want to build, and the agent guides you through the planning process.
- Go to
Step 2: Create Plan
-
Enter an initial prompt describing what the project should include, including the main purpose, key features, technology stack, and any specific requirements or constraints. The Planning Agent asks detailed questions about the task to help define the scope (see Figure 1).
-
Answer the questions to provide project details. The agent processes all prompts locally through your language model (for example, Qwen 3 4B), ensuring your project ideas remain private.
-
The agent generates a structured plan consisting of:
- Parent tasks: High-level features or components
- Sub-plans: Detailed implementation steps for each parent task
- Dependencies: Relationships between tasks
-
Each sub-plan includes:
- Ownership: Whether the task is for the user or can be automated by the agent
- Success criteria: How to determine if the task is complete
- Recommended sequencing: The order in which tasks should be executed
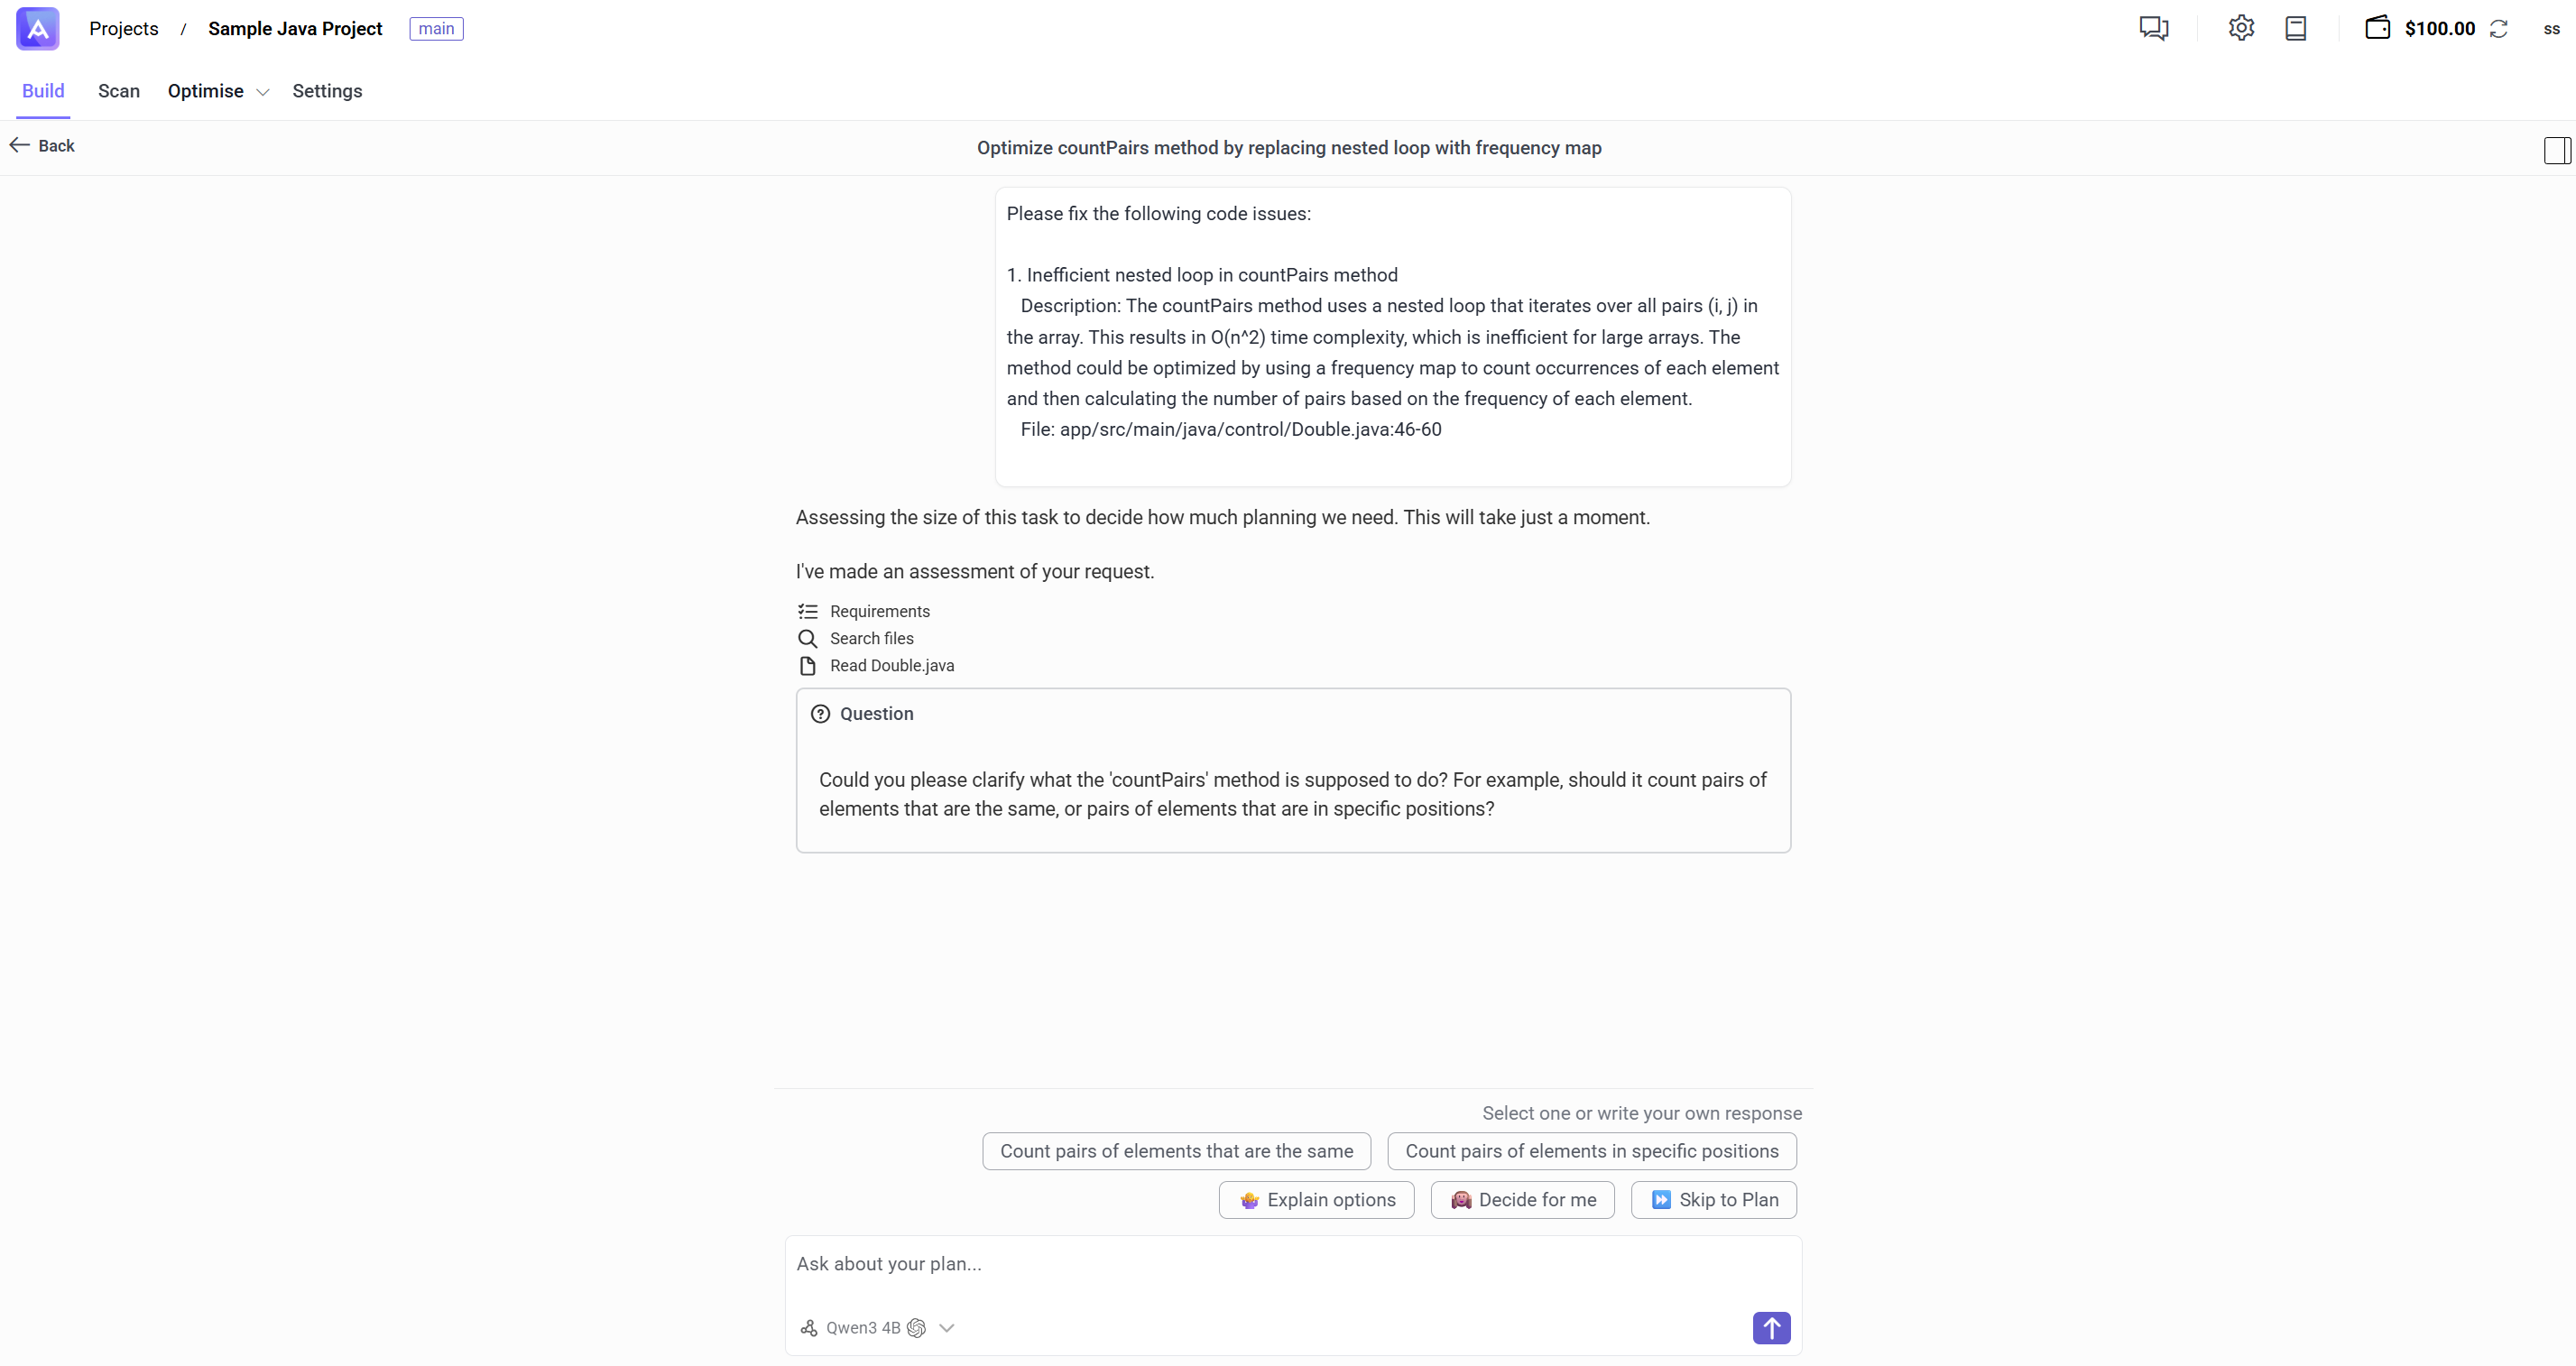
Figure 1: Planning agent in action
Step 3: Track Progress
- Review the generated plan items. Inspect each sub-plan to ensure it meets your requirements.
- For each sub-plan, you can:
- Validate: Mark the plan as reviewed and approved
- Publish to Git: Push the plan and generated code to your Git repository
- Request revisions: Ask the Planning Agent to modify or refine the plan
- Use the plan dashboard to track and update statuses:
- Draft: Plan is being developed or reviewed
- In Progress: Plan is being executed
- Published: Plan has been completed and pushed to Git
- Convert completed sub-plans into standalone tasks or optimisation targets for historical tracking and future reference.
Step 4: Project Ready
- Once the plan is complete and published, your project is available on GitHub in the repository you specified during planning.
- Download the project and run it locally to verify everything works as expected.
- Verify that all features from the plan have been implemented correctly.
- Test the application to ensure it meets the success criteria defined in your plan.
- If issues are found, return to the planning interface to create additional plans for fixes or improvements.
Step 5: Continue Development
After your initial project is complete, you can continue development using various Artemis workflows:
-
Optimise existing code: Use Artemis Intelligence or One-Shot LLM to generate code versions aligned with the plan and improve performance.
-
Add new features: Use the Planning Agent to add new features to your project. Create a new plan describing the feature, and the agent generates a structured implementation plan.
-
Ensure code quality: Use Code Audit to review code quality and identify potential issues. Fix any issues found before deploying to production.
-
Explore your codebase: Use Agentic Chat to ask questions about your project and understand how different components work together.
Next Steps
- Explore the Plans overview for advanced plan management features.
- Learn how to convert planning outcomes into Standalone tasks.
- Review the Build overview to understand how planning connects with other build workflows.
- Use Standalone Optimisation to implement and optimise your code.
- Run Code Audit to ensure code quality and identify issues.